New Home setup
Like the blog, some slight changes
I had started to describe and toy with a few things in a previous post about my home Internet and the upcoming NBN.
NBN
After much delay because I’m on the HFC version of the NBN, I finally got connected. You hear about all the horror stories but my NBN tech was very professional and made sure that all cabling was nice and tidy.
Not a small task as he had to go from the NBN box through a basement and up one level to the lounge room but he did it in a way that kept my OCD at bay :)
NBN Provider
I initially went with my ADSL provider Internode with the TP-Link wifi router provided on a 50M/500GB plan.
Speed was OK but not always consistent. Some new providers were promising better speed for cheaper so after more than 10 years on Internode, I decided to change and went with Superloop on a 100/40 unlimited plan for $10 more than my NBN50 500GB Internode plan.
(By the way, if you’re interested in Superloop here is a referal link to get a 10% discount)
What a change it has been :
- Speed is great all day everyday (90Mbits worst case, 100Mbits most of the time).
- No VLAN Tagging
- the upload speed has been a blessing especially as more of the familly started to work from home
- Superloop publishes the stats for their CVC connection (effectively the capacity available to customers) for each suburbs and my one peaks at 40% so far

Network Setup
Here are some of the moving parts of my new setup. Some is visible in the lounge but most is hidden in my Basement Datacenter (BasementDC aka shelves in my basement).
TP-Link router-wifi / Airport Extreme
The TP-Link Archer device is in the lounge and is only used to initiate the connection with the NBN modem, provide Wifi & Ethernet upstairs and VoIP (had to find the superadmin password for this).
It is then linked via Ethernet to an Aiport Extreme in the basement, configured in Bridge mode.
DHCP
My DHCP server is a Windows 2019 server. Yes it’s not your usual home setup and I’m checking alternatives (kea looks interesting) but it’s the best option i’ve found so far in order to have policies within a DHCP scope (mostly to have different DNS configurations … more on that in the Pi-Hole section)
Pi-hole
My initial Pi-hole was on a raspberry pi and it ran fine but after a while i started to have issues linked to the SD card but mostly after updating various components in the Linux OS. I had to find a better way.
I also had to transfer ownership of that Raspberry Pi to my kids …
At the same time, my office was cleaning some of the IT store rooms to get rid of the old stuff. Among some old SSD and SATA disks from an EMC CX400 I picked up, I also picked 2 Thin Clients Wyse 5010 (also known as Dell D10D) :
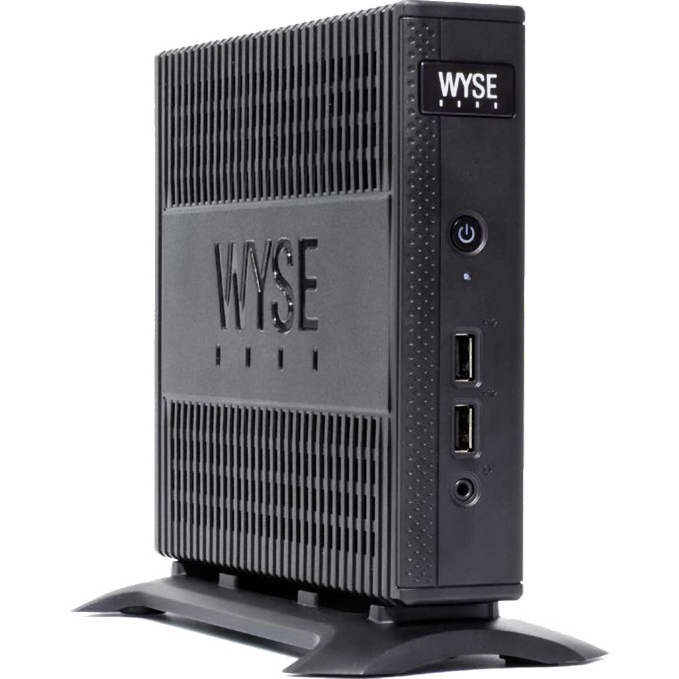
Those are not as small as a Raspberry Pi but they were free with 4GB RAM and a very small SSD.
I installed Ubuntu on them and started to play around with microk8s. It worked but it was a bit too much for a home setup (clustering etc …), so I finally settled on a Docker setup.
I’ll give some details in a future post
Supporting Infrastructure
In order to run the Windows VM as well as some “Home” workloads, I refurbished an old gaming PC circa 2009 (old i7-950 CPU).
Even if Intel says you can’t have more than 24GB of RAM on this old rig, I was able to make it work with 48GB. Add the salavaged 400GB SSD and 4 SATA drives (only 3 detected, need another PSU SATA cable), Nutanix Community Edition and that’s 2.81TB to power things like a Plex Movie Library, the family File Server and the Time Machine target for the Macs in the house.
Yes, it’s a bit overkill for “Home IT” but it also acts as a little homelab and cost was minimal (only bought some extra RAM for it).
And while on the subject of recycling old IT Tech, I also gave a makeover to my 2009 MacBook. I had already upgraded it to 8GB and created a DIY Fusion drive but it was time to change things a little.
First, after noticing the temperature going high (60 on idle, 80 in light tasks) and the associated system impact (fan noise, battery capacity slowly reduced because of heat, limited battery runtime) I opened the little laptop to fix this.
A fair amount of dust was removed (most importantly from the Fan and the Heat Sink), the 10 year old crusty thermal paste replaced with some new Artic Silver 5 and that made quite the difference !
At idle, CPU is now around 27-30 C and 44C in light usage like typing this blog entry in VS Code, with Mail, Messages and Safari open.
Next, I broke the Fusion drive as I wanted the full performance of the SSD (as “full” as you can get on a SATA 3Gb/s bus). So boot drive on a 256GB SSD (with TRIM support thanks to sudo trimforce enable) and then a 1TB Data drive. As I was planning to just install macOS High Sierra (last supported version on the MacBook), I found a patcher to install the latest version : Catalina.
And it all worked !
No, it still doesn’t support Metal (GPU is only a nVidia 9400M) and there’s some quirks for Bluetooth and Airpod support but for what I use it for (web, small scale Dev and blogging) it’s perfect.
Stability
The goal in doing all this was to have as minimal maintenance as possible while making everything better in the house. Also meant re-using a bunch of old but still capable parts/systems.
I wasn’t expecting some events :
- Daughter shutting power in the basement causing an unexpected outage to my BasementDC
- Everyone in the house working/attending school while at home for 1 month (and therefore needing any bit of bandwidth as well as spare laptops)
- me working from home for 6+ months
But I guess it makes the whole setup “battled tested”.